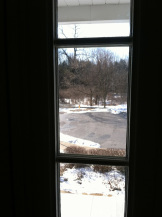
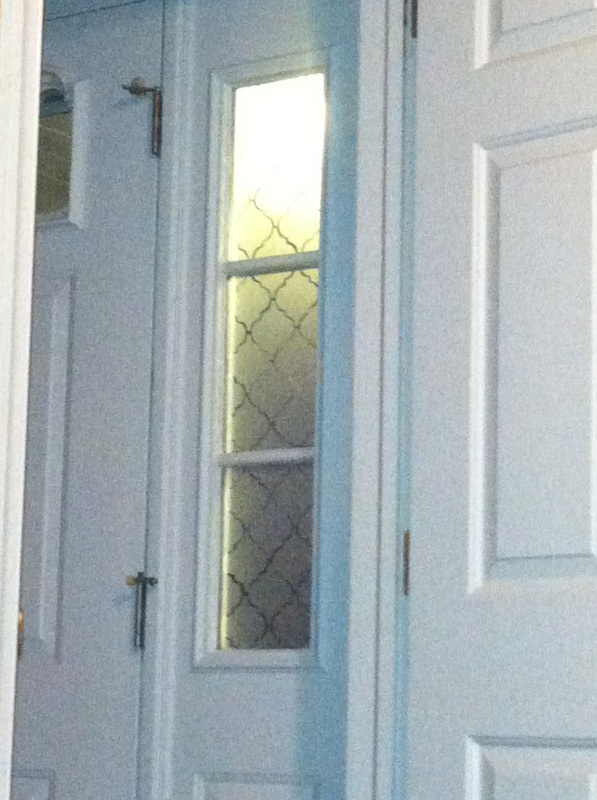
My dad ingrained in my brain at an early age not to be 'fish bowl people'. You know, the people that never close their curtains and you can see everything going on inside... like a fish bowl :). So, when we moved into our house I knew I needed to quickly cover up the side windows on our front door! The previous owner was a stain glass maker and she had made some personalized stain glass windows -with her dog. Yeah, not so modern and not so my style. We asked her to remove them... which she did, but it left a huge privacy problem in our house! Everyone could see what was going on!
My immediate thought was something simple and inexpensive like putting up some privacy film because I had seen some images of it on the web and it looked nice... but I tried it out and I quickly was irritated because it was completely blocking my view of the front porch... and the person knocking on the door...no good. So, I did a LOT of google searching for other ideas.
My immediate thought was something simple and inexpensive like putting up some privacy film because I had seen some images of it on the web and it looked nice... but I tried it out and I quickly was irritated because it was completely blocking my view of the front porch... and the person knocking on the door...no good. So, I did a LOT of google searching for other ideas.
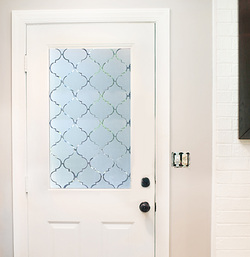
The inspiration for this project came from Seventh House on the Left. I loved this idea but had a few things that I needed to switch up to make this work for my windows.
So to make this work for my window, I shrunk the template provided to a size more appropriate for smaller windows (file below)
**Photo credit Seventh House on the Left
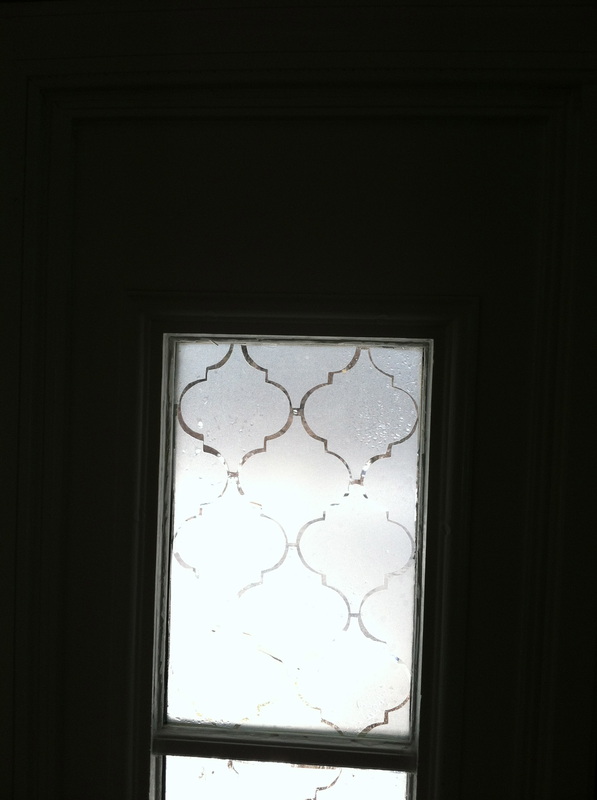
- The pattern was wayyyy to large for my tiny windows (about 10" x 6")
- The tutorial calls for contact paper but I wasn't sold on this because it's essentially a 'sticker' and hard to take off/ replace or relocate.
So to make this work for my window, I shrunk the template provided to a size more appropriate for smaller windows (file below)
**Photo credit Seventh House on the Left
Cost: Less than $20
Time: An afternoon (anywhere between 1-5 hrs depending on how fast you are at cutting)
Size of window: this depends on the size of the film (1 below) that you purchase. We were able to cut enough for 6 - 10"x6" windows with some extra materials with the materials we purchased.
Supply List:
Time: An afternoon (anywhere between 1-5 hrs depending on how fast you are at cutting)
Size of window: this depends on the size of the film (1 below) that you purchase. We were able to cut enough for 6 - 10"x6" windows with some extra materials with the materials we purchased.
Supply List:
- Etched Glass Window Film ~$18 (can substitute contact paper but I think this works much better)
- Pair of Scissors
- Printer and ink
- Template (link to pdf below)
- Squirt bottle with water
- Card Stock Paper (optional- see explanation below)
Instructions.
** alternatively you can just print this on a 8.5" by 11" piece of card stock to create one stencil, use a marker and trace it on the paper and cut it out. This is a less preferred method in my opinion because it is more time consuming.
- Cut backing to 8.5 x 11” (try using a framers square for this)
- Print the template above on the paper side of the backing**
- Cut out shapes
- Spray glass with water
- Stick and squeegee to remove air bubbles.
** alternatively you can just print this on a 8.5" by 11" piece of card stock to create one stencil, use a marker and trace it on the paper and cut it out. This is a less preferred method in my opinion because it is more time consuming.

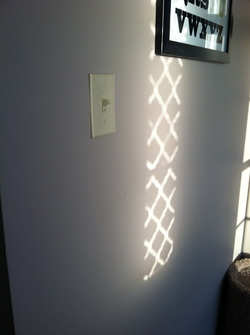
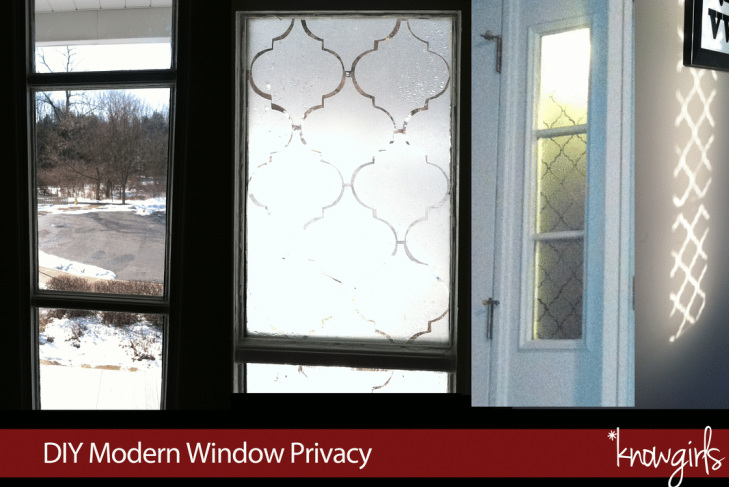
A really awesome shadow also will appear on nearby walls - this was an unexpected yet exciting part of the project!
So, what do you think? I LOVE it. In fact, it's my favorite thing I've ever DIY'd. People who come over ask me where I 'bought' the decals - or where I got it installed from. ME- that's who designed it and built it. That always makes me feel good :).
happy designing!
*knowgirl Scarlett
So, what do you think? I LOVE it. In fact, it's my favorite thing I've ever DIY'd. People who come over ask me where I 'bought' the decals - or where I got it installed from. ME- that's who designed it and built it. That always makes me feel good :).
happy designing!
*knowgirl Scarlett