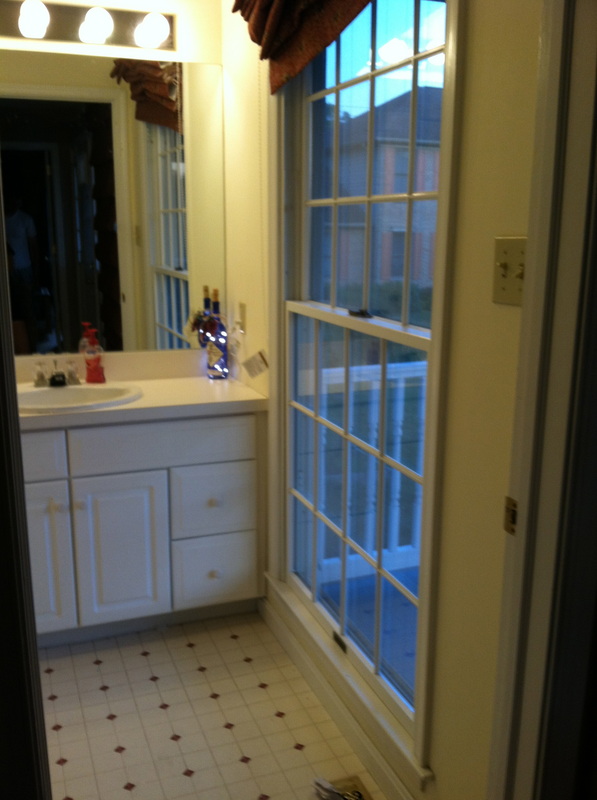
Honestly, when we bought our house our downstairs bathroom (powder room - I hate that word) was the only thing I despised.... so I decided two weeks after we moved that we were going to gut it. Yeah, says the first time home buyer... easy I thought. We ran into issues right away. There were two layers of sub-flooring which means there were two layers of ugly vinyl.... and our house was built in the 90's. 1990's not 1890's. Crazy. A crazy vinyl lady must have lived here.
The next problem we encountered was the vanity. Because the window is close to the vanity in our house (yes floor to ceiling bathroom windows are great for lighting, and terrible for privacy...) the vanity needed to be shallow. So apparently the builder decided to piece to vanities together... which means he haggardly cut two chunks out of the middle. Sweet.
Next problem, the water pipe comes out of the floor because it's an exterior wall... which means we have to cut a hole in the bottom of our new vanity... measure twice - cut once. Pain in the arse but, CHECK.
Finally, the mirror... oh the mirror I despise thee. You are liquid nailed to the wall. You are basic. You are boring. To remove thee would require breaking. To remove thee would require pain. To remove thee would make me shout with glee... yet you remain. I am sad.

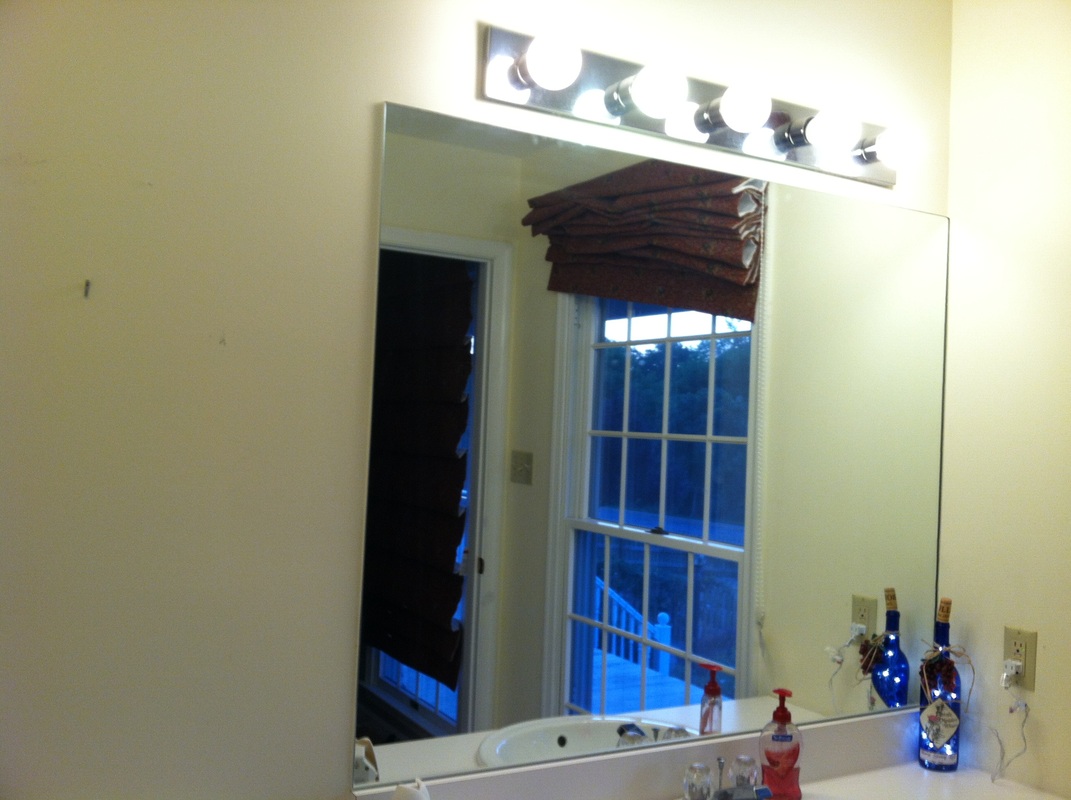

So let's just fast forward through all of those ugly bathroom pictures and get straight to the detail. I needed a new bathroom mirror and I didn't want to take the old one down. I found a lot of blogs that discussed 'framing your builder grade mirror' (e.g. check out 'Full of great ideas') but didn't know if it'd look good. I only like to take on projects that I know will NOT look like I DIY'd it. That's my ultimate goal.
So, without the permission of my husband, I took to it one day while he was at work (I was off for Thanksgiving Break! Wahoo, academia! who knew, there are positives to being a professor). Also, wahoo, It looked good so he wasn't mad. Wahoo wahoo. Wahoo Wahoo WAHOO!
So, without the permission of my husband, I took to it one day while he was at work (I was off for Thanksgiving Break! Wahoo, academia! who knew, there are positives to being a professor). Also, wahoo, It looked good so he wasn't mad. Wahoo wahoo. Wahoo Wahoo WAHOO!

The steps are pretty easy.
1. Measure your mirror, measure it again. Measure it a third time to be sure.
2. Pull out your mitre saw (or borrow one from a friend like I did)
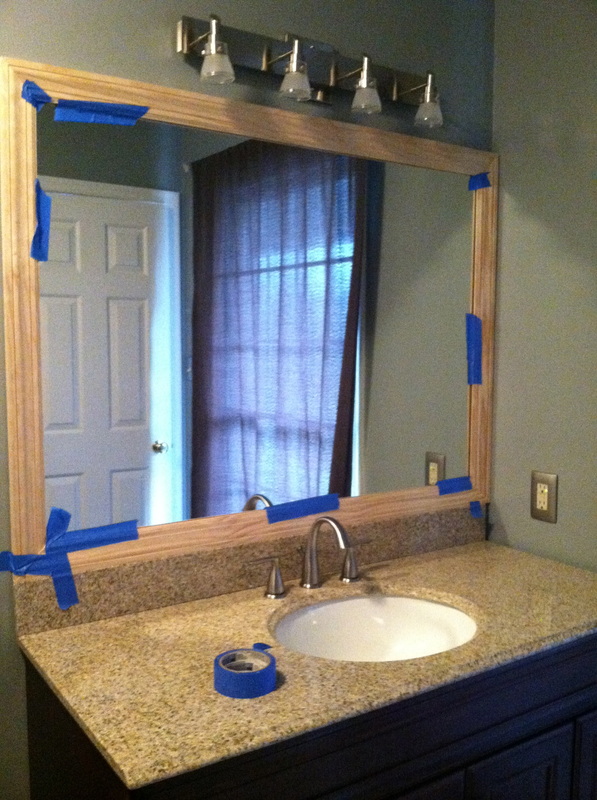
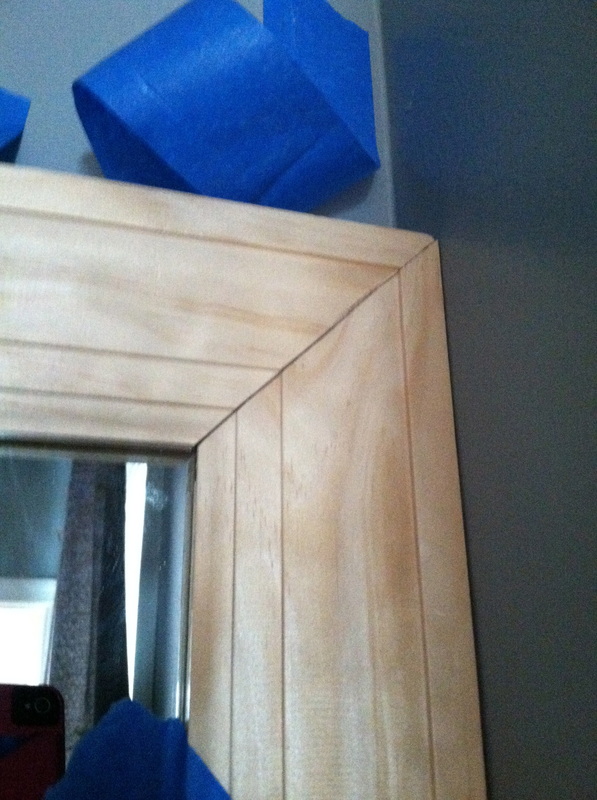
3. Cut wood at 45 degree angles at length of mirror
4. Tape cuttings to mirror to make sure it's correct - trust me this is important. Take down once it looks good.
5. Stain front and back of wood ( I used Rustoleum ultimate, black cherry) (do this before - I didn't and it was a big pain)
6. Use liquid nails to attach the frame to a mirror - tape it to keep it in place
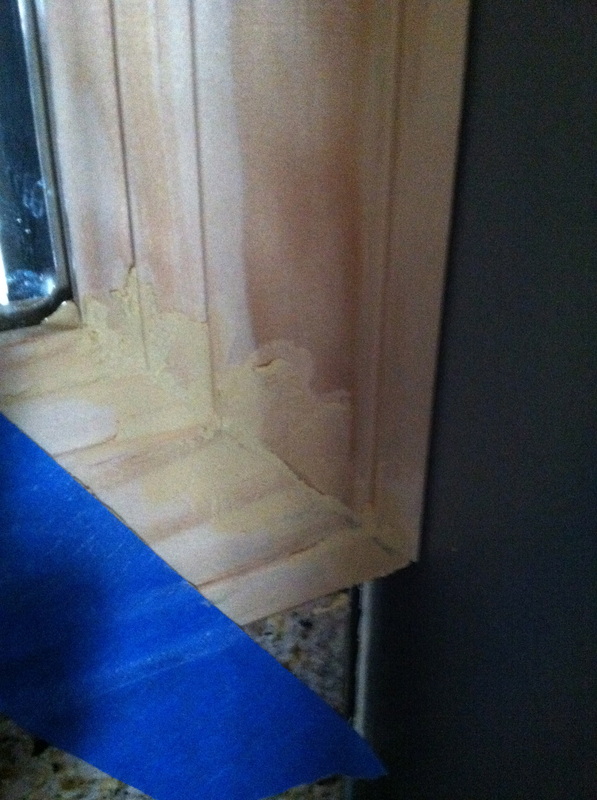
7. Use wood filler to fill in 'creases' in mirror frame at corners
8. Stain those extra wood filled areas areas.
9. Tape inside of frame
10. Use Poly to finish the frame.
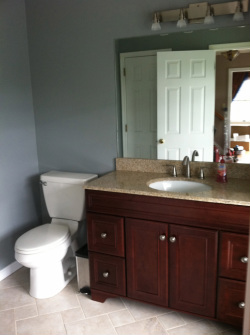
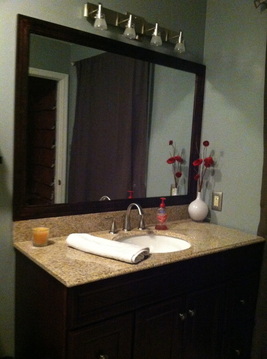
And here's the final product. Whatcha think? I think it looks darn good! Shazzzaaaaam. Take that ugly mirror.
Scarlett 1. Mirror 0.
At the end of the day. Would I do this again? Yes. It looks awesome. It looks professional. It makes me want to do it to my master bath. It makes me want to do this to all bathrooms everywhere. It's fantastic. It's lovely. It makes me happy. It makes me want to say "screw you basic mirror - you suck, this mirror is so much better than you." Would I recommend this to my friends? Duh, I wouldn't be writing this post if I didn't!
1. Measure your mirror, measure it again. Measure it a third time to be sure.
2. Pull out your mitre saw (or borrow one from a friend like I did)
3. Cut wood at 45 degree angles at length of mirror
4. Tape cuttings to mirror to make sure it's correct - trust me this is important. Take down once it looks good.
5. Stain front and back of wood ( I used Rustoleum ultimate, black cherry) (do this before - I didn't and it was a big pain)
6. Use liquid nails to attach the frame to a mirror - tape it to keep it in place
7. Use wood filler to fill in 'creases' in mirror frame at corners
8. Stain those extra wood filled areas areas.
9. Tape inside of frame
10. Use Poly to finish the frame.
And here's the final product. Whatcha think? I think it looks darn good! Shazzzaaaaam. Take that ugly mirror.
Scarlett 1. Mirror 0.
At the end of the day. Would I do this again? Yes. It looks awesome. It looks professional. It makes me want to do it to my master bath. It makes me want to do this to all bathrooms everywhere. It's fantastic. It's lovely. It makes me happy. It makes me want to say "screw you basic mirror - you suck, this mirror is so much better than you." Would I recommend this to my friends? Duh, I wouldn't be writing this post if I didn't!
happy crafting!
*knowgirl Scarlett
*knowgirl Scarlett