My sister got married!!!!
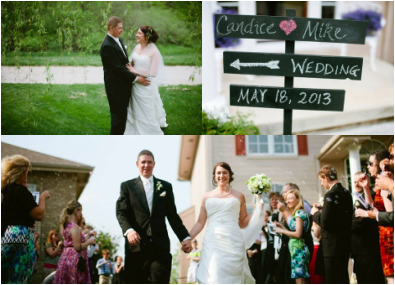
WOOT WOOT!!!
I'm so happy for my sister and brother-in-law but having their happy day completed was a big stress reliever for me because... I did all of the graphic design work... which took forever... but looked awesome...and I was proud of myself but... IT TOOK FOREVER.
Now here's the good news. I'm going to share my hard labors with you to download and use... for FREE. AHHHH - well it makes the work worth it to me that others might use it- seriously - so share with me when you do - PLEASE.
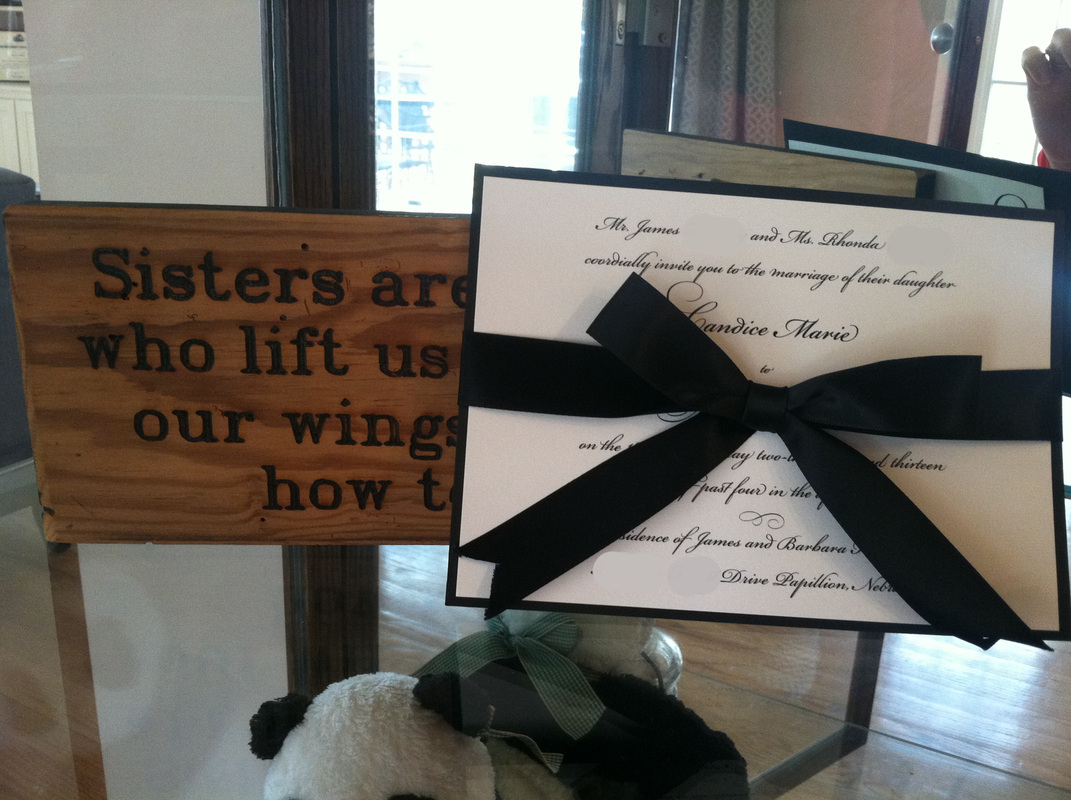
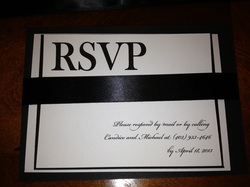
My sister wanted her invitations to be elegant but simple (her colors were black and white). She found a design she liked (not sharing that one - but I'll tell you it was more than $10 per invitations) - and I thought, "I can make that." Yeah... that's how most of my projects start and then hours upon hours go by and I think "why did I decide I should make this". But they looked great and she loved them. Plus, they are about 1/10th the original price. #winning
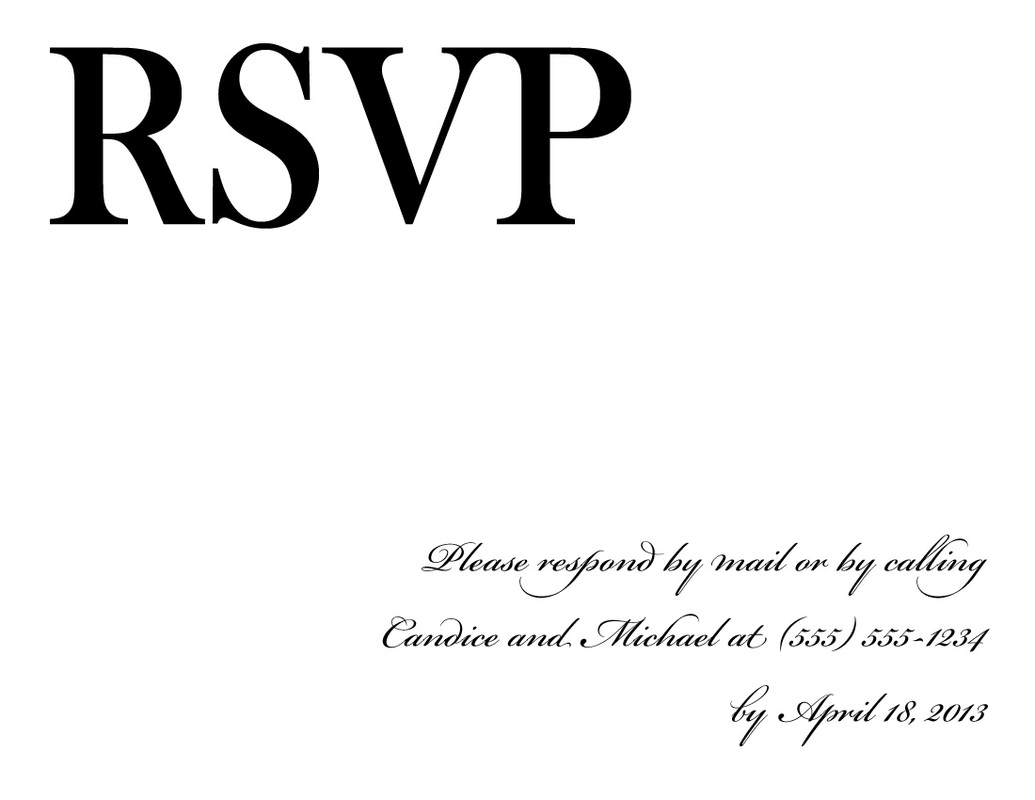
The invitations are 5 x7" and cost less than $1.50 to create (based on making and printing 100 invitations- cost breakdown below). They consist of a front invitation (attached to a black backing), an RSVP card (with black return envelope), and an information card.
To print these invitations you will need the following supplies to use these (cost break down included to print 100)
1. A computer with Adobe Acrobat to edit the PDFs (or a free 30 day trial or fully licensed version of Acrobat Pro) (free)
2. Download and install the Bickham Script Pro Font on your computer (PC and MAC font installation instructions) (free)
2. The attached files (1 for invitation, 2 for information card, 2 for RSVP) (free!)
3. A printer (my sister used a pretty old ink jet so any printer should work - it will take some practice to get it lined up correctly!) (free if you already have one - Mine is here and it works great for printing invites if you're in the market!)
4. Paper (Papersource is my go to venue - others will also work)
a. For Invitation: black backing size A7 (4 x $4.50/ 25 cards); superfine white A7 enclosure card ($4.25/ 25 cards)
b. For RSVP card: superfine white size A2 (4 x $3.50/ 25 cards)
c. For Information card: superfine white size A6 (4 x $3.75/ 25 cards)
5. Ribbon: Black satin 7/8" ($7.99/ 100 yards - you will have extra!)
6. Envelopes
a. (for RSVP card) : Size A2 black (2 x $14.25/ 50 envelopes)
b. (for Invitation): Size A7 white ($11.95/ 100 envelopes)
7. Extras (double sided tape, printer ink, etc.) (~$50/ 100 invitations)
Total cost ~ $1.50 per invitation - and I rounded UP!
To make the invitations do the following:
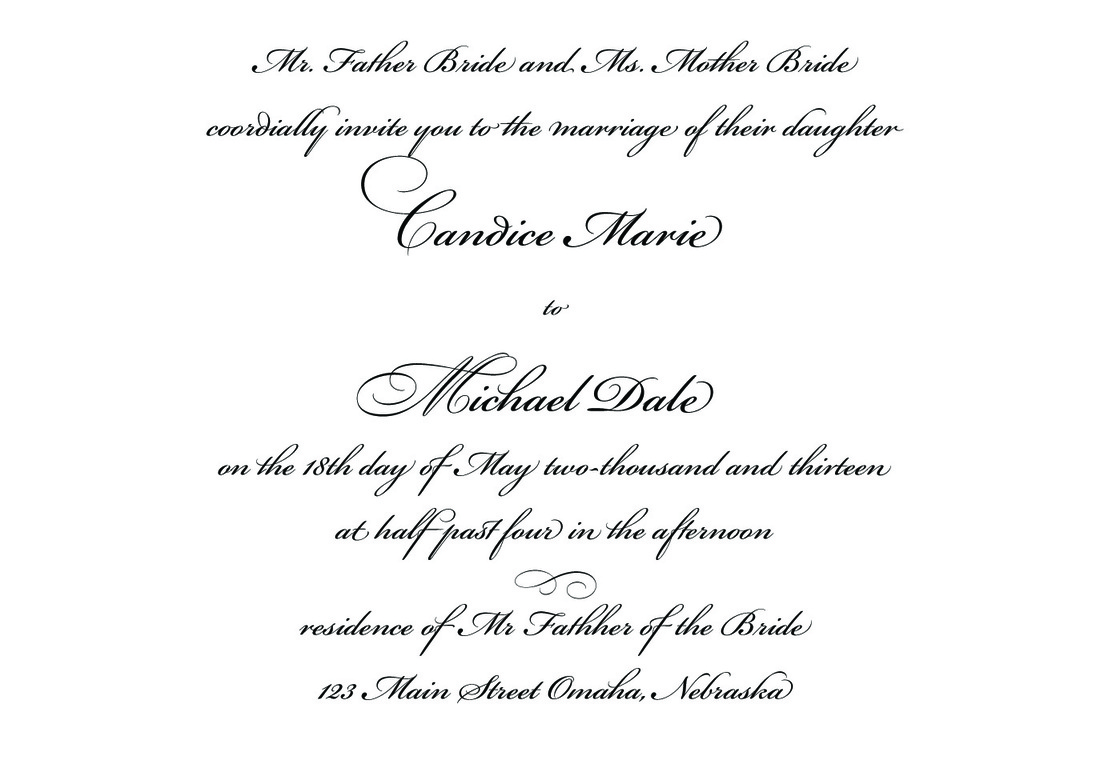
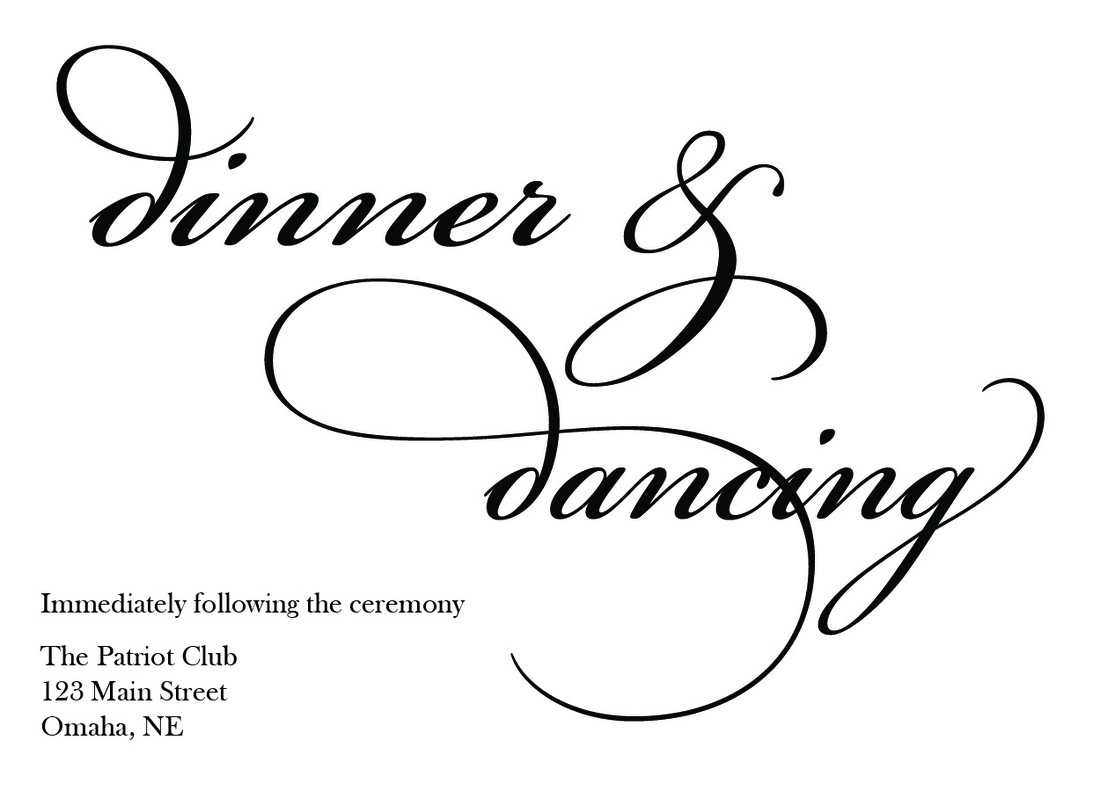
Invitation Card
A. Download and openinvitation file. Edit the necessary text in Adobe Reader or Acrobat. (also make sure you followed step 2 above!)
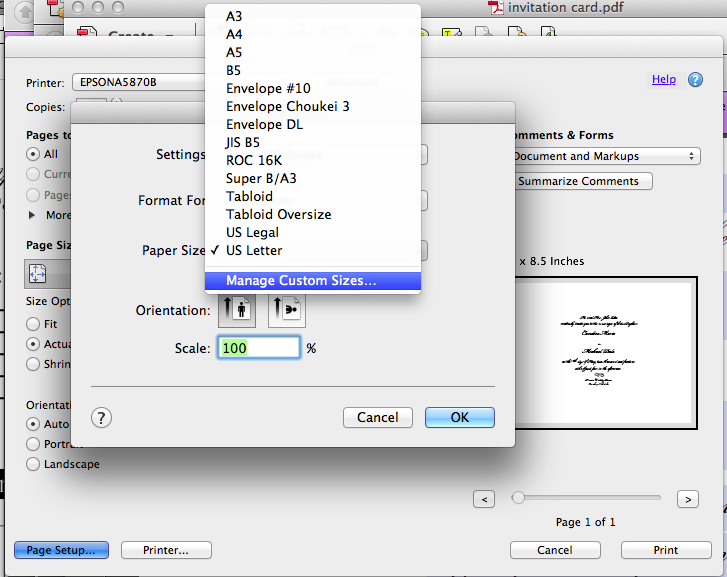
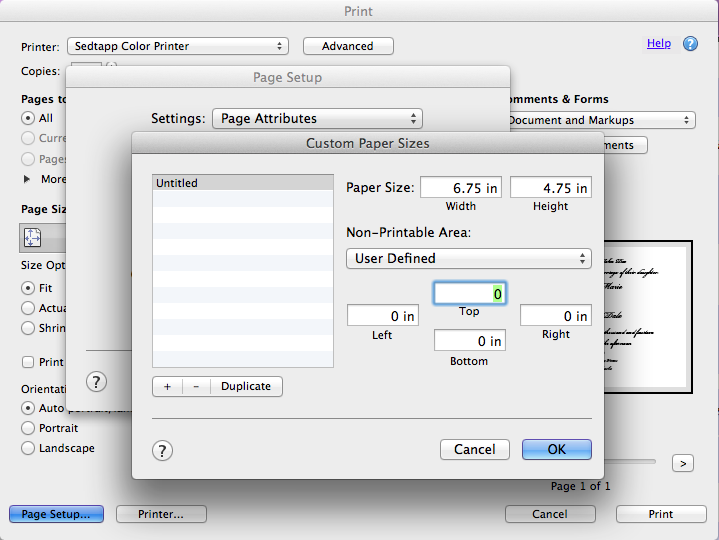
B. Click File - Print. Open Advanced Print settings and follow the steps diagrammed below. The final print size should be 4.75" high and 6.75" wide. Print 'to fit' and do not include any borders (it's already included in the file you downloaded!)
B. Print X invitations on the white A7 enclosure cards
where X= number of invitations your printing (I'm an engineer remember)
C. Use the double sided tape to adhere the invitations to the black A7 backer.
The invitations are 5 x7" and cost less than $1.50 to create (based on making and printing 100 invitations- cost breakdown below). They consist of a front invitation (attached to a black backing), an RSVP card (with black return envelope), and an information card.
To print these invitations you will need the following supplies to use these (cost break down included to print 100)
1. A computer with Adobe Acrobat to edit the PDFs (or a free 30 day trial or fully licensed version of Acrobat Pro) (free)
2. Download and install the Bickham Script Pro Font on your computer (PC and MAC font installation instructions) (free)
2. The attached files (1 for invitation, 2 for information card, 2 for RSVP) (free!)
3. A printer (my sister used a pretty old ink jet so any printer should work - it will take some practice to get it lined up correctly!) (free if you already have one - Mine is here and it works great for printing invites if you're in the market!)
4. Paper (Papersource is my go to venue - others will also work)
a. For Invitation: black backing size A7 (4 x $4.50/ 25 cards); superfine white A7 enclosure card ($4.25/ 25 cards)
b. For RSVP card: superfine white size A2 (4 x $3.50/ 25 cards)
c. For Information card: superfine white size A6 (4 x $3.75/ 25 cards)
5. Ribbon: Black satin 7/8" ($7.99/ 100 yards - you will have extra!)
6. Envelopes
a. (for RSVP card) : Size A2 black (2 x $14.25/ 50 envelopes)
b. (for Invitation): Size A7 white ($11.95/ 100 envelopes)
7. Extras (double sided tape, printer ink, etc.) (~$50/ 100 invitations)
Total cost ~ $1.50 per invitation - and I rounded UP!
To make the invitations do the following:
Invitation Card
A. Download and openinvitation file. Edit the necessary text in Adobe Reader or Acrobat. (also make sure you followed step 2 above!)
B. Click File - Print. Open Advanced Print settings and follow the steps diagrammed below. The final print size should be 4.75" high and 6.75" wide. Print 'to fit' and do not include any borders (it's already included in the file you downloaded!)
B. Print X invitations on the white A7 enclosure cards
where X= number of invitations your printing (I'm an engineer remember)
C. Use the double sided tape to adhere the invitations to the black A7 backer.

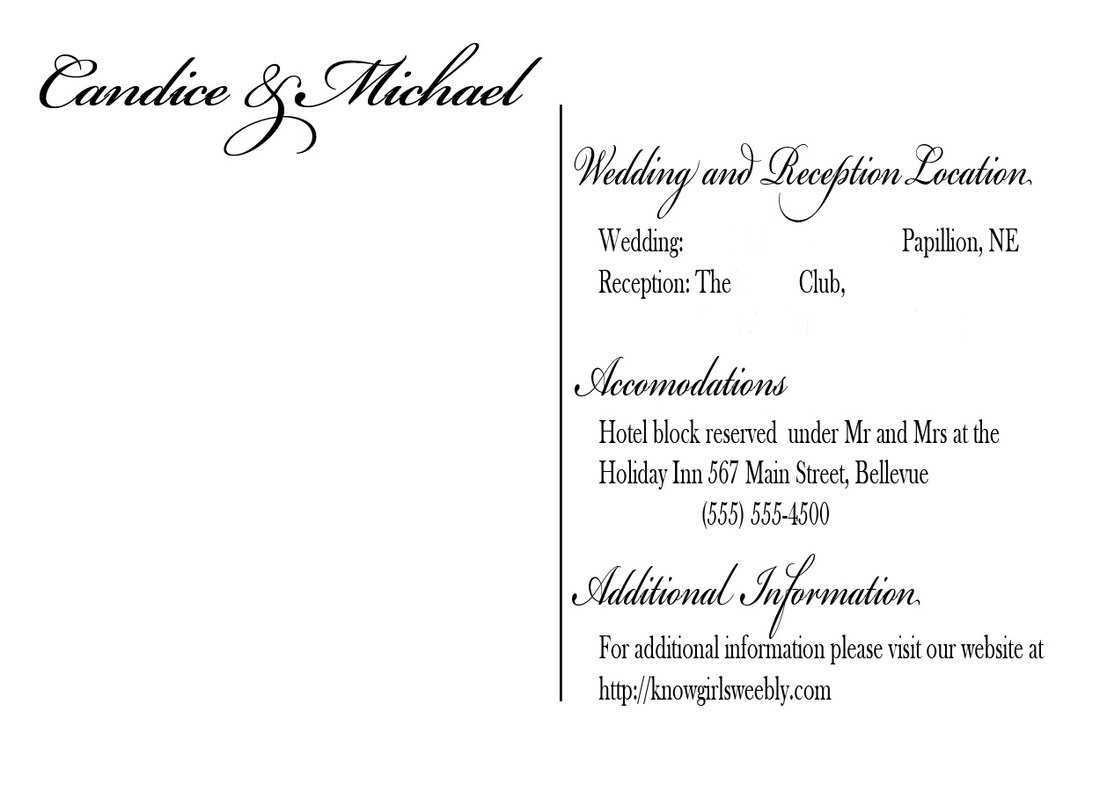
To make the information card do the following:
A. Download and open information card front file. Edit the necessary text in Adobe Reader or Acrobat.
B. Click File - Print. Open Advanced Print settings and follow the steps diagrammed below. The final print size should be 4.5" high and 6.25" wide. Print 'to fit' and do not include any borders (it's already included in the file you downloaded!)
C. Print X information cards on the white A6 paper
D. Download and open information card back file.
E. Flip the information card and print on its backside **
**practice makes perfect - do a sample before you run the whole set to make sure that you have the print direction correct!

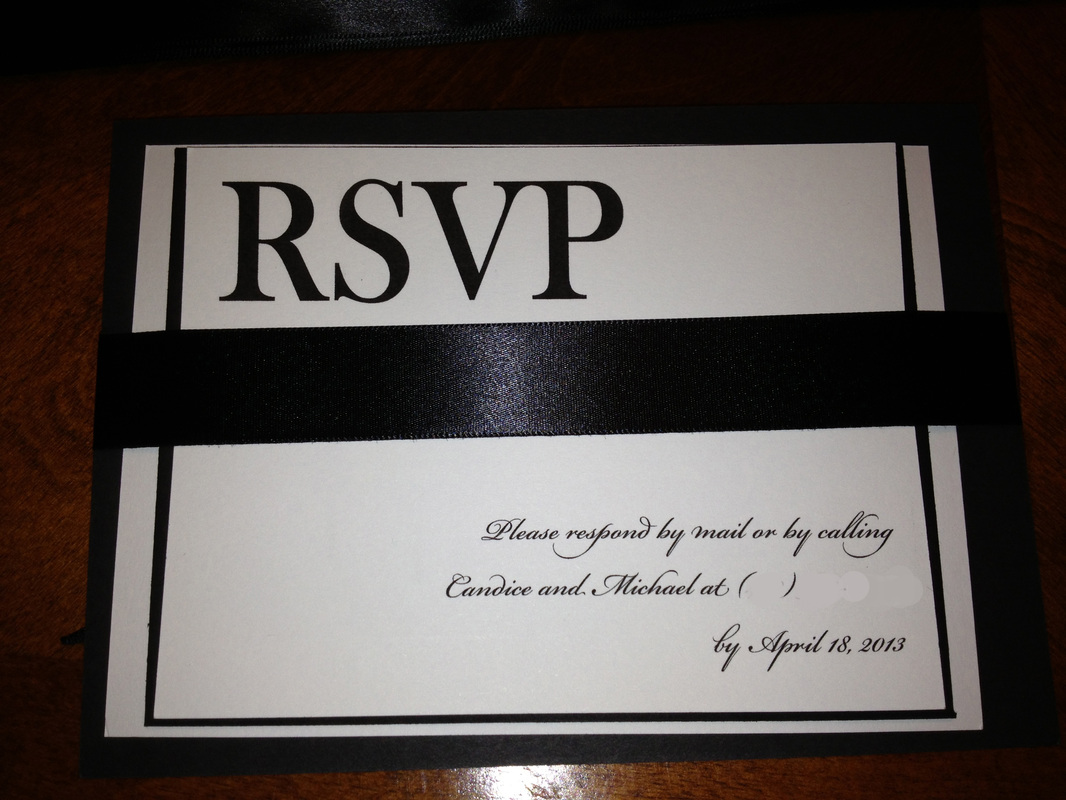
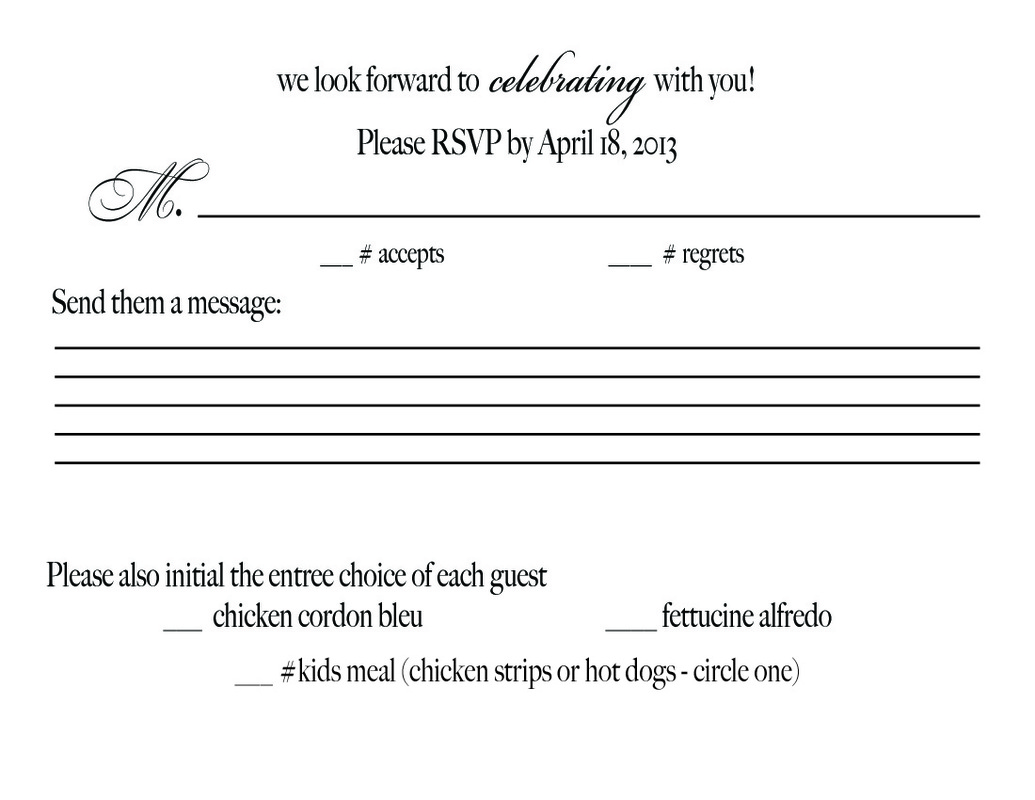
For the RSVP Card
A. Download and open RSVP card front file. Edit the necessary text in Adobe Reader or Acrobat.
B. Click File - Print. Open Advanced Print settings and follow the steps diagrammed below. The final print size should be 4.25" high and 5.5" wide. Print 'to fit' and do not include any borders (it's already included in the file you downloaded!)
C. Print X RSVP cards on the white A2 paper
D. Download and open the RSVP card back file.
E. Flip the RSVP card and print on it's backside**
**practice makes perfect - do a sample onebefore you run the whole set to make sure that you have the print direction correct!

Once you have completed the printing here is how we assembled them.
1. Tie ribbon around invitation.
2. Put Information card in the back of the invitation
3. Put black RSVP envelope behind RSVP card and stack in front of invitation card.
4. Exhale because you're done!
1. Tie ribbon around invitation.
2. Put Information card in the back of the invitation
3. Put black RSVP envelope behind RSVP card and stack in front of invitation card.
4. Exhale because you're done!
So there might be a lot of steps here but ultimately you'll have professional, awesomely designed, invitations for a fraction (literally, 1/10th) of the price of buying them online. So put in some elbow grease, coral your friends (and fiance?!) to help, grab a bottle of wine and knock this out. You can do this in one evening if you don't finish the bottle yourself!
Happy crafting!
*designgirl Scarlett
Happy crafting!
*designgirl Scarlett