What do you do if your bridesmaid dress comes with a coordinating sash, but you have something a little more colorful in mind? Enlist your friendly *knowgirl seamstress!
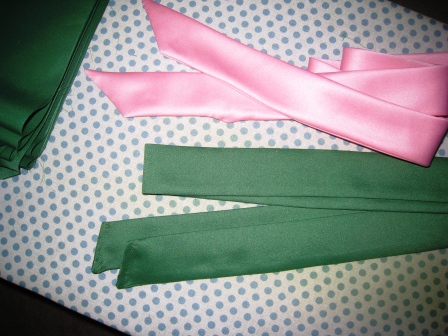
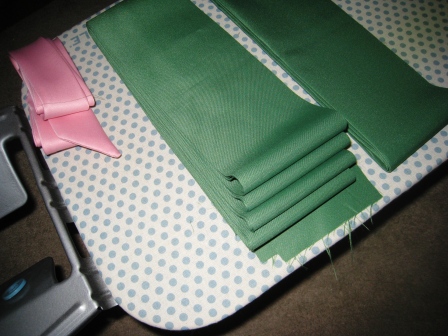
My friend Crystal is getting married next month, and I have the honor of getting to stand up with her! She's has picked out the cutest bridesmaid dresses for us to wear (below, left). She picked out the rosepetal for the dress, and her other color is a beautiful clover green similar to the cactus. Our goal? make clover green satin sashes.
 |  |
An excursion to our local JoAnn Fabric Store scored us the perfect color of satin fabric for only $5 a yard. It happened to have rainbow glitter on the right side of the fabric, but the wrong side? Jackpot! The sashes that came with the dresses are 1 3/8" x 90". After folding 2.5 yards of fabric several times to fit on my cutting mat, I cut 4" wide strips with a rotary cutter. My final sashes ended up being 1 5/8" x 90". I had enough strips to make over a dozen sashes... so count before you cut, in case you need to make something else. I got a little carried away with my rotary cutter...
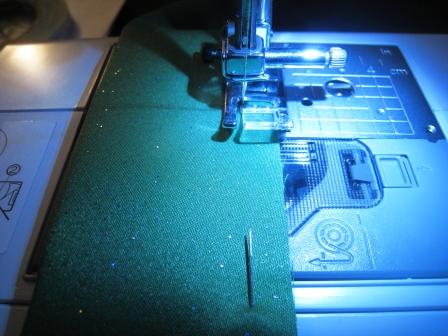
Before I say anything else - you will use a LOT of pins... 90" is a lot of fabric! First, I pinned the non-glittery sides together, every couple inches or so, and then sewed a 1/4" seam along the whole length, making a long tube.
After sewing the length of the fabric, put on a television show, grab some wine, or put on some music, because the next step takes a little bit of time. Starting on one end, we need to turn the whole thing right side out. It works best to pull from the center of the inside of the tube, and then every few inches, work the outside down along the tube.
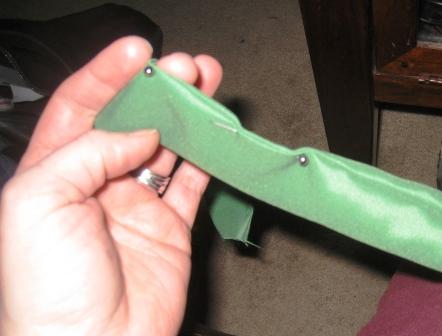
After turning it right side out, we need to get a good crisp fold when we press it. To do this, we're going to use all of our pins again to pin along the seam, trying to get the seam as close to the edge as possible. It will seem like your sash is curving...this is just the pins, don't freak out!
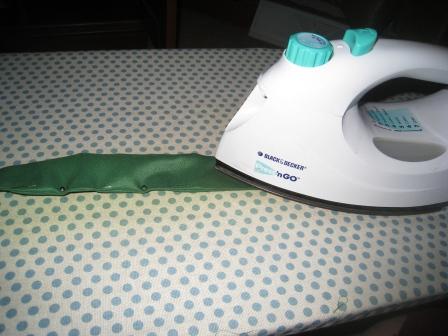
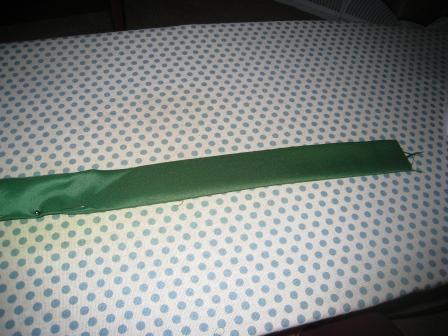
After pinning along the whole thing, get your iron going and press one pin at a time, keeping the sash taut and pressing slowly.
 |  |
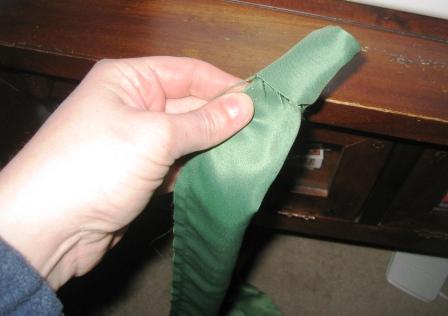
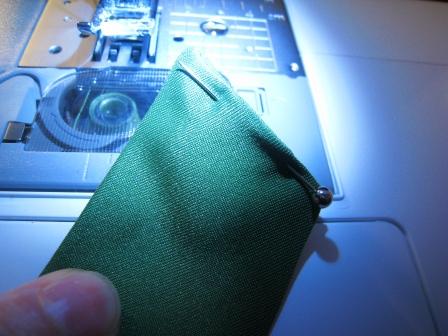
Next we're going to tuck the end into a little triangle, and then pin. Sew as close to the edge as possible, starting from the non-seam edge (trust me, it makes this a lot easier!) And you're done!
 |  |
As a side note, I also made sashes for junior bridesmaids and flower girls. These need to be shorter, and I settled on about 78" after research and estimation. This includes enough for a little bow in the back.
Rather than spending $10 a piece for these, minimum, we made 5 for under $15. Really I could have made 10 more, so if you have an even bigger bridal party, definitely go for this method. Easy, cheap, and in my opinion, they look even better than the ones that came with the dress!
In about a month I'll update the post with how they look on the dresses on the big day. Stay tuned!
*knowgirl Carolyn